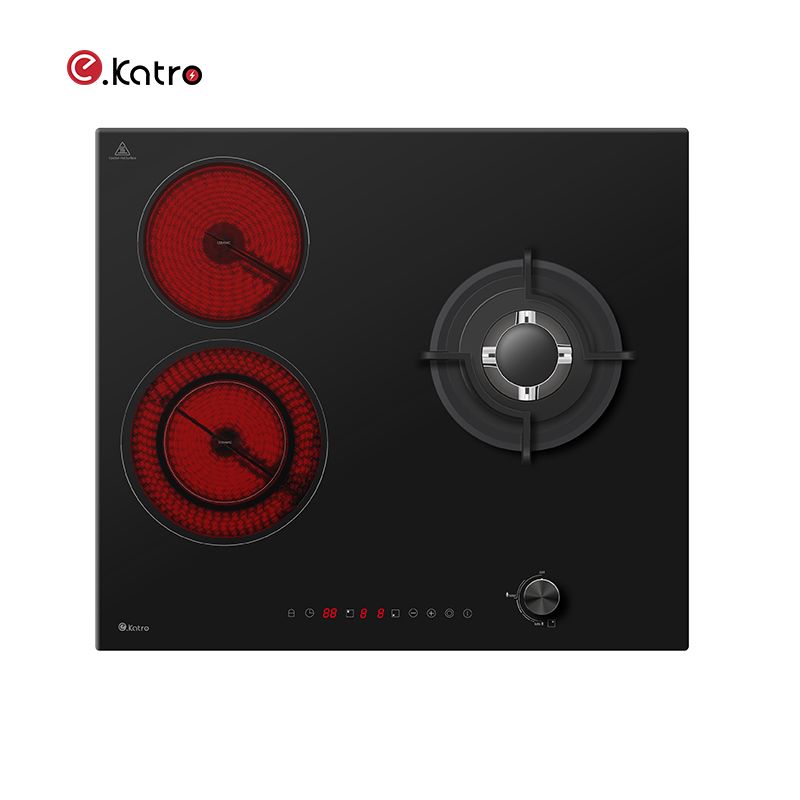
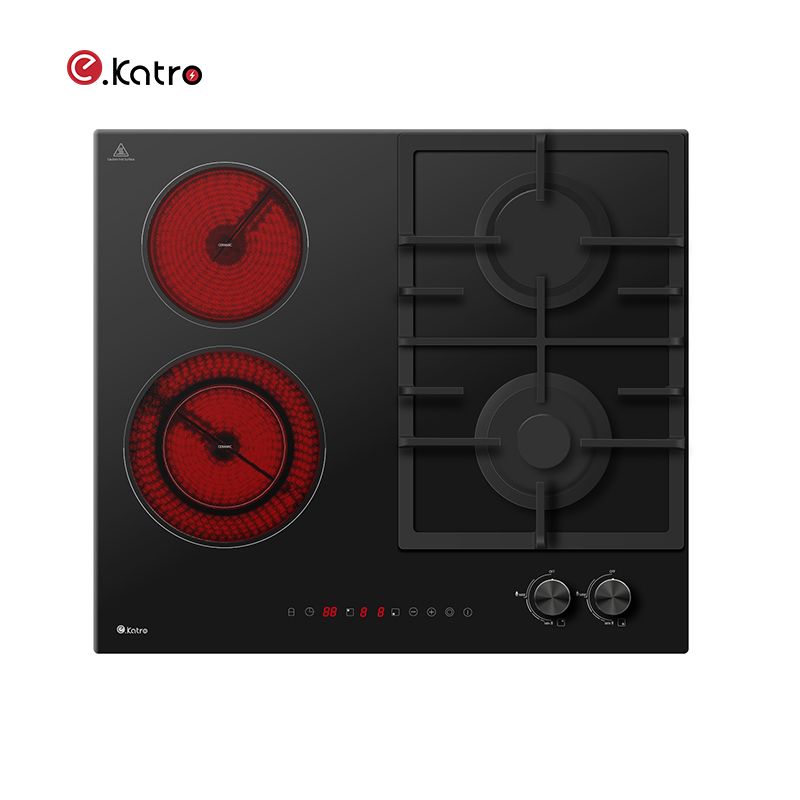
The built-in gas & ceramic cooktop combines the instant heat control of gas burners with the precise temperature management of ceramic cooking zones, offering a versatile cooking solution for modern kitchens. This guide provides professional installation points for brand owners and wholesalers, ensuring end customers achieve optimal performance and safety.
1. Countertop Preparation
(1) Cutout Dimensions: Strictly follow the dimensions specified in the product manual. The cutout typically needs to be 1-2mm larger than the product's nominal size for easier installation.
(2) Depth Requirement: Ensure cabinet depth is sufficient to accommodate the appliance and the necessary rear ventilation space (usually requiring an additional 50-100mm).
(3) Load Considerations: The cooktop is relatively heavy (typically 15-25kg). Verify that the countertop and supporting structure can bear the long-term load.
2. Gas Connection Specifications
(1) Gas Type Compatibility: Confirm that the local gas type (natural gas or LPG) matches the product specifications.
(2) Professional Connection: Must be installed by a certified gas technician using approved flexible hose or rigid piping.
(3) Leakage Test: A rigorous leak test is mandatory after installation. Check all connection points with soapy water.
(4) Shut-off Valve: Ensure an easily accessible gas shut-off valve is installed near the appliance.
3. Electrical Safety Requirements
(1) Dedicated Circuit: The ceramic hob section requires a dedicated circuit. Avoid sharing the circuit with other high-power appliances.
(2) Voltage Matching: Confirm the product's voltage rating (typically 220-240V) matches the local supply.
(3) Grounding Protection: Reliable grounding is essential. Install a Residual Current Device (RCD).
(4) Cable Gauge: Select the appropriate cable cross-section based on the appliance's power rating (typically 4-6mm²).
4. Ventilation and Heat Dissipation
(1) Bottom Clearance: A minimum ventilation gap of 50mm is required at the bottom of the cabinet to prevent heat buildup.
(2) Avoid Enclosed Spaces: Never install the cooktop in a completely sealed cabinet compartment.
(3) Side Clearance: Maintain at least 50mm distance from side cabinets or walls.
(4) Overhead Clearance: Maintain a safe distance of 650-750mm between the cooktop surface and the range hood or the bottom of overhead cabinets.
5. Safety Isolation Measures
(1) Fire-Resistant Materials: Use flame-retardant materials around and beneath the appliance.
(2) Heat Shield: If installed above combustible materials, a certified heat shield/insulation board must be installed.
(3) Child Safety: Consider placement to prevent direct access by children to the control panel.
Post-Installation Checklist
a. All fixing elements are securely installed.
b. Gas connections are leak-free, and pressure tests are passed.
c. Electrical connections are correct, and grounding is reliable.
d. The cooktop is level, with no tilting.
e. All gas burners and ceramic zones function correctly.
f. Safety features (e.g., flame failure devices) are tested and operational.
g. The customer has received basic operational and safety instructions.
Professional Recommendations
(1) Technician Training: Provide specialized product training for your installation teams.
(2) Installation Toolkit: Consider offering a professional installation kit containing sealant, template, and necessary accessories.
(3) Digital Resources: Create installation video tutorials and digital manuals for easy on-site reference by technicians.
(4) Customer Communication: Provide a clear pre-installation checklist to help customers prepare the site beforehand.
Correct installation is fundamental to ensuring the performance, safety, and long-term reliability of a built-in gas & ceramic cooktop. For brand owners and wholesalers, ensuring that your distribution network and installation partners master these points will directly enhance customer satisfaction and reduce post-sales issues. Investing in installation quality is an investment in brand reputation and customer loyalty.