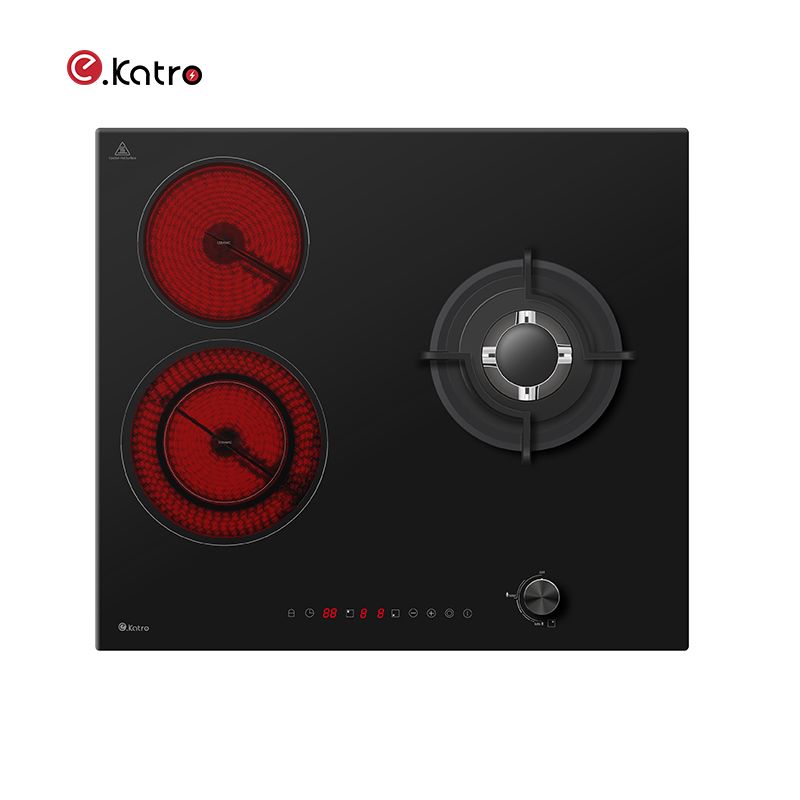
Installing a built-in induction cooker can seem daunting, but I assure you that with clear, actionable steps, you'll be able to streamline the process efficiently. This guide will walk you through how to install a built-in induction cooker correctly, ensuring safety, functionality, and a perfect fit in your kitchen.
Begin by gathering your tools and resources. You will need an installation manual (often provided by the manufacturer), a level, a measuring tape, a screwdriver, and possibly a drill. Ensuring you have everything on hand allows for a smooth installation without unnecessary interruptions.
Step 1: Prepare the Space for Installation
Before anything else, measure the designated area where you plan to install your built-in induction cooker. The optimal dimensions typically require a cut-out of approximately 30 inches in width and 20 inches in depth, but it’s essential to check the specifications of your specific model. Precision is crucial in this step; even a discrepancy of 0.5 inches could affect the installation.
Step 2: Electrical Connections
Induction cookers require a dedicated electrical line. If you do not have a power source, consider hiring a certified electrician (following ASTM standards) to install a suitable circuit breaker and outlet. The wiring should be capable of handling a load of at least 30 amps.
Step 3: Secure the Induction Cooker
Once the electrical work is done, carefully lower the built-in induction cooker into the cut-out space. It's helpful to have a second pair of hands during this step for safety and precision. Ensure that it fits snugly into the opening, and check that there are no gaps.
Step 4: Test the Installation
Now that the built-in induction cooker is secured, it's time to connect it to the power and test functionality. Reconnect the power supply and turn on the appliance.
Potential challenges during installation may include irregular countertop surfaces or misalignment. If you find that your cooker is not level, you can adjust the feet or add shims to ensure a secure and stable installation.
I recommend referring to the installation video guides available on the Katro official website for visual cues during execution. These resources often highlight common pitfalls and present solutions that can enhance your experience.
Finally, let's summarize the key steps:
By following this structured approach, you can ensure a proper installation that maximizes the benefits of your built-in induction cooker. Ready to get started? Check out Katro’s range of products to find the perfect built-in induction cooker for your kitchen, and enjoy efficient, precise cooking with an appliance designed for performance.
For any further assistance, don’t hesitate to refer to the Katro installation manual or contact customer support. Your culinary journey awaits!
A: To install a built-in induction cooker correctly, follow these steps: 1) Measure and prepare the installation space, ensuring precise dimensions and sufficient clearance. 2) Ensure proper electrical connections, including a dedicated 240V outlet capable of handling at least 30 amps. 3) Secure the induction cooker into place, ensuring a snug fit and flush surface with the countertop. 4) Test the installation by reconnecting the power supply and verifying all cooking zones function correctly.
A: Measure the designated area where you plan to install the cooker. The optimal dimensions typically require a cut-out of approximately 30 inches in width and 20 inches in depth. However, it's essential to check the specifications of your specific model to ensure a perfect fit.
A: Induction cookers require a dedicated electrical line with a 240V outlet capable of handling at least 30 amps. It's crucial to hire a certified electrician to install a suitable circuit breaker and outlet, ensuring safety and optimal performance.
A: While Katro provides detailed installation guides and video tutorials on our official website, we recommend hiring a certified electrician for the electrical connections to ensure safety and compliance with local regulations.
A: Katro's built-in induction cookers are designed for performance, offering efficient and precise cooking. They are crafted to fit seamlessly into your kitchen, providing a sleek and modern aesthetic while ensuring safety and functionality.